Getting Started
Welcome to Aligno. This guide walks you through setting up your account, creating your first project, and sharing it with a client. It takes a few minutes.
1. Create an Account
If you haven't already, sign up for a free account. The Free plan includes 1 asset (image, PDF, video, or webpage), which is enough to try Aligno with a real client.
2. Create your first Project
From the dashboard, click the New Projectbutton. Give it a clear name that you and your client will both recognize, like "Acme Homepage Redesign" or "Logo Concepts v2".
3. Upload Assets
Use Add Asset to upload an image (PNG, JPG, WebP, or GIF up to 10MB), a PDF (up to 50MB), a video (MP4, MOV, or WebM up to 100MB), or add a webpage URL for live review. Each asset gets its own feedback thread and approval status.
4. Share for Review
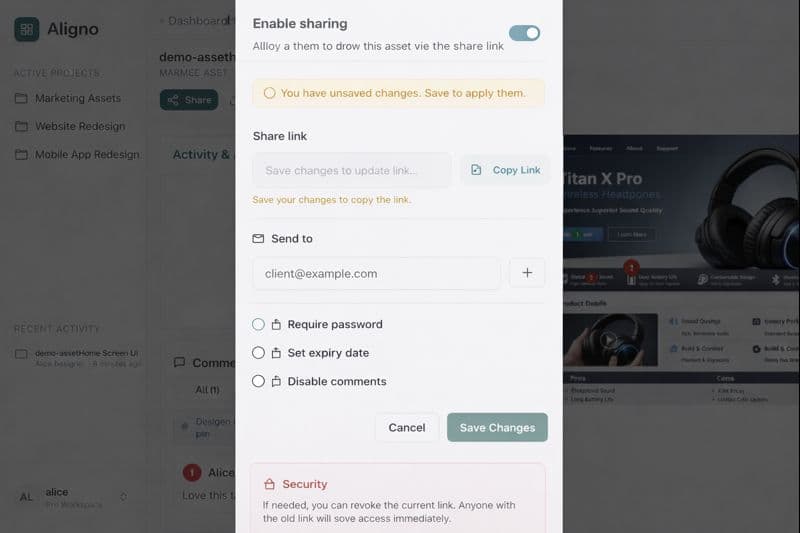
Click the Share button to generate a secure link. You can optionally add a password, set an expiry date, or disable comments. On paid plans you can also set a review due date (Aligno reminds the reviewer automatically) and send the link by email straight from the share dialog. On Free, copy the link and send it to your client however you normally communicate.
5. Collect Feedback and Approval
When your client opens the link, they'll see a clean view of your design. They can:
- Leave comments (pinned to specific spots or general feedback)
- Approve the design when they're satisfied
- Request changes if revisions are needed
You'll see all comments and the approval decision in your dashboard. If changes are requested, upload a new version and the cycle continues until you get that "Approved" status.